
I love having an outdoor classroom area but I abhor paying big money for anything. I enjoy creating fun things for our areas. An outdoor music area is great for a school, preschool, homeschoolers, or a home of nature lovers or music lovers. We have a few different music items in our music area. The one I want to highlight right now is our wooden xylophone. Our first wooden xylophone, put in 6 years ago, just started breaking so it was time to replace it. It was built by a friend so we simply took some measurements and recreated it. You can create one as well! Here is what you will need. A saw to cut 2x4s, and a good drill to drill holes through the 4 inch sides, and a sander. A belt sander is perfect for this but a handheld sander will work also. You will also need maybe 30 feet of nylon rope (we used 3/8" nylon rope) and spray paint in whatever colors you want to use. We used Krylon Color Maxx bright colors of green, blue, red, yellow, and orange. To hang it we used 4x4’s cemented in the ground.
Directions:
1. Cut the 2x4s into the following lengths. (If you purchase 2 - 10' 2x4s you will have plenty)
10”
12”
14”
16”
18”
20”
22”
24”
26”
28”

2. Spray paint each 2x4 in whatever color scheme you choose. You will want to spray multiple coats of paint to make sure it is resistant to water/rain. Take special care to coat the ends well, particularly the end that will be on the top. I laid them out on thick plastic trash bags. They didn’t stick to the bags and when they dried I turned them over, sprayed them again and put it back on plastic to dry. I learned an important lesson about handling them as I laid them down. I learned to wear gloves while spraying so I didn't accidentally get spray paint from my hand transferred on to another paint color.


I took our old Xylophone and laid it out so we could see how the rope had been tied between the boards. They simply had one knot between each set of boards to keep them apart. So obviously lay them out from smallest to largest.

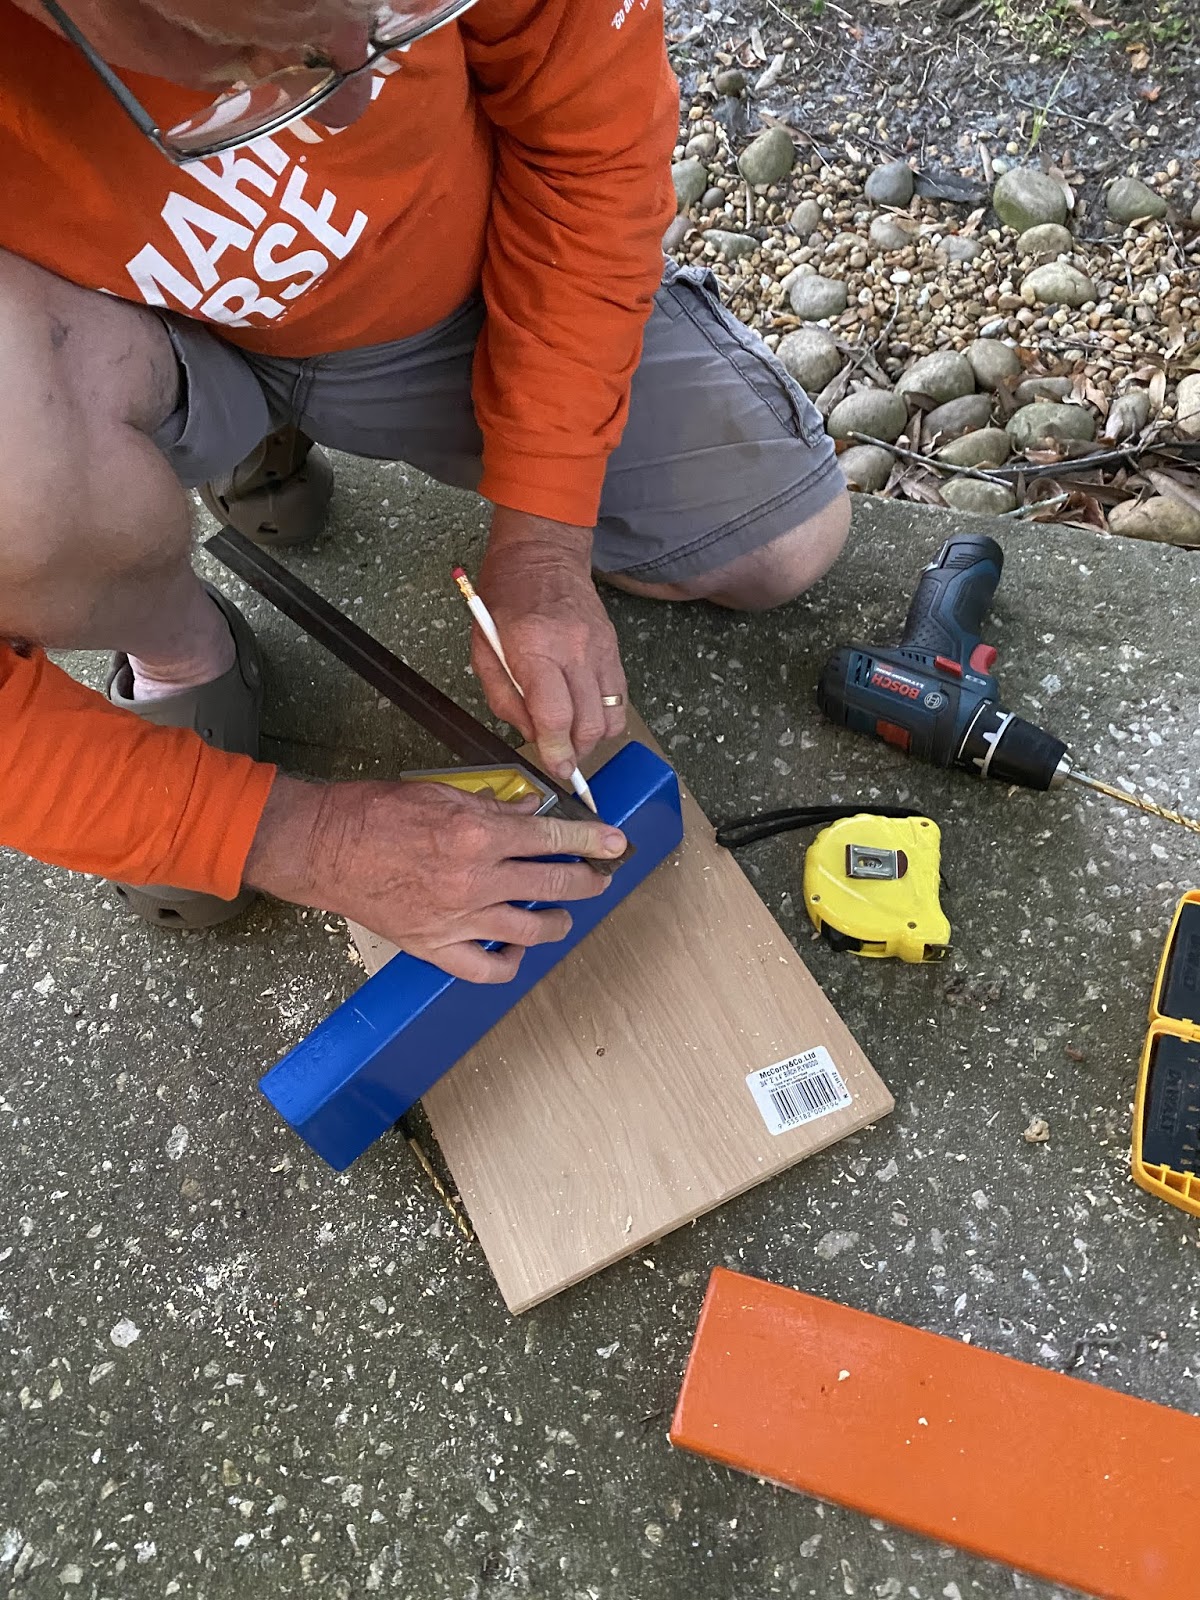 Then one by one you will want to measure in from each end on one side as shown 2" from one end and 2" from the other end and mark in the direct middle of each measurement so it is centered 2" from each end. As demonstrated by my fabulous husband, Papa Joe, Drill a hole large enough for your rope going all the way through the board as illustrated.
The next step is to drill. We tried drilling on the sidewalk but found it was difficult to hold the board still while drilling. Putting it in a vise grip worked pretty well but ensuring that the drill was straight up and down not angled to a side was difficult, yet important. A few of our holes were not perfectly lined up but still works effectively for a kids xylophone. After you drill your first hole thread your rope through it to make sure it fits easily through it. It is better to adjust your hole size after the first hole than re-drill all the holes.


Almost finished!! Now, lay your rope out along the top row of holes and the bottom row of holes. Ensure you have enough rope on the ends to tie, accounting for space for the knots in between each board. Now begin threading the rope all the way through the first one, tie a knot, continue to put it through the next hole, tie a knot, repeat to the last board. Now, repeat that process on the bottom rope and row of holes.

Once you have them all tied and have decided where you will install the xylophone, using post hole diggers dig holes about 3' deep in the ground and put your 4x4 in the hole. Next, mix cement following manufacturer directions and pour cement in the hole around your 4x4 leaving enough 4x4 at the top for your xylophone. Lash your remaining rope from each side around the board multiple times to support the xylophone, then tie it off using a good sturdy knot. We used a clove hitch knot.


No comments:
Post a Comment